Incoming server
- Server Type: POP3
- Server Address: mail.htc.net
- Port: 995
- SSL enabled
- Requires authentication
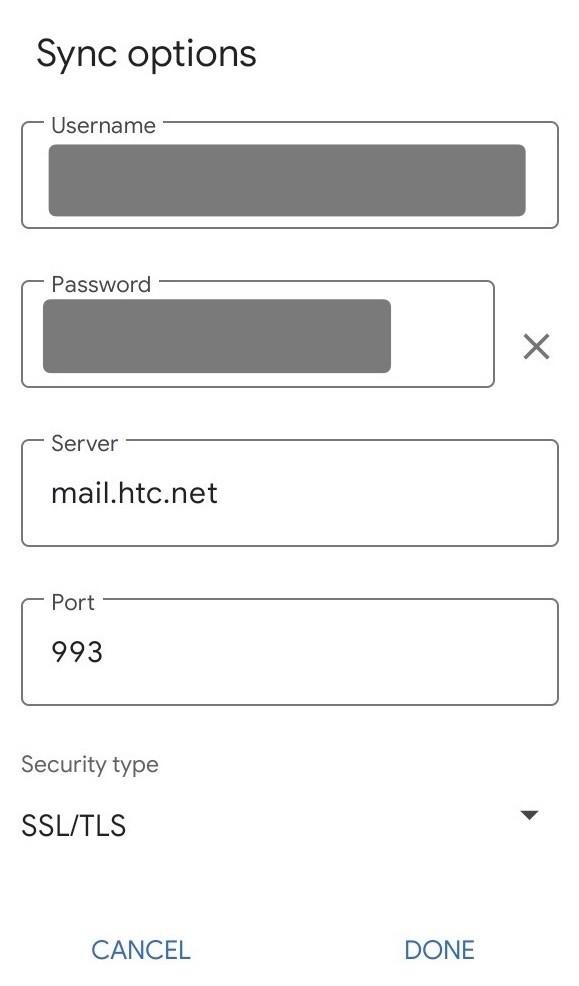
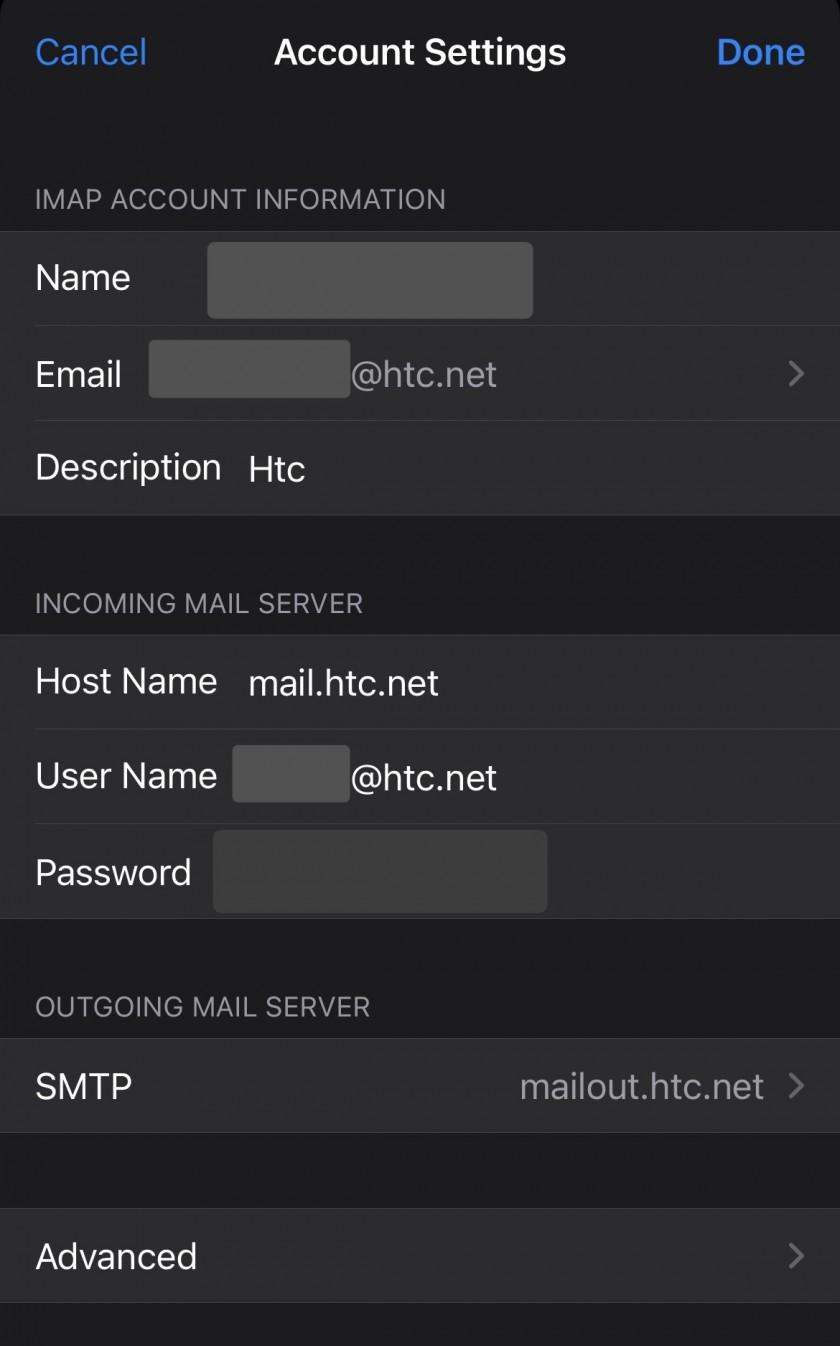
or, if setting up as IMAP:
- Server Type: IMAP
- Server Address: mail.htc.net
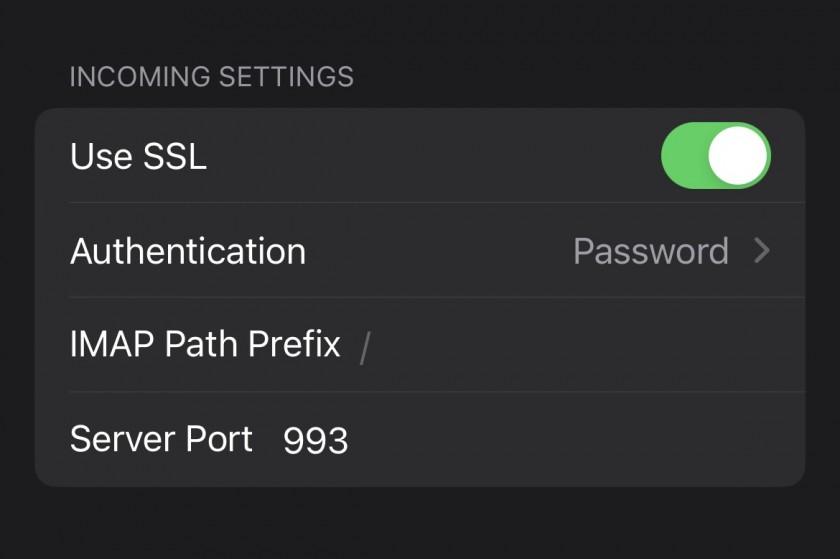
- Port: 993
- SSL enabled
- Requires authentication
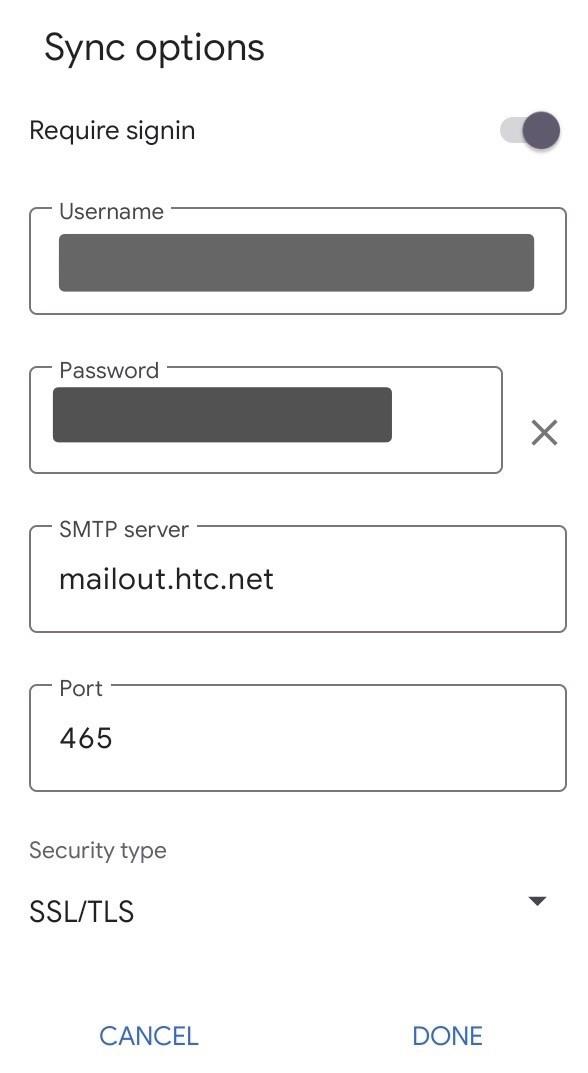
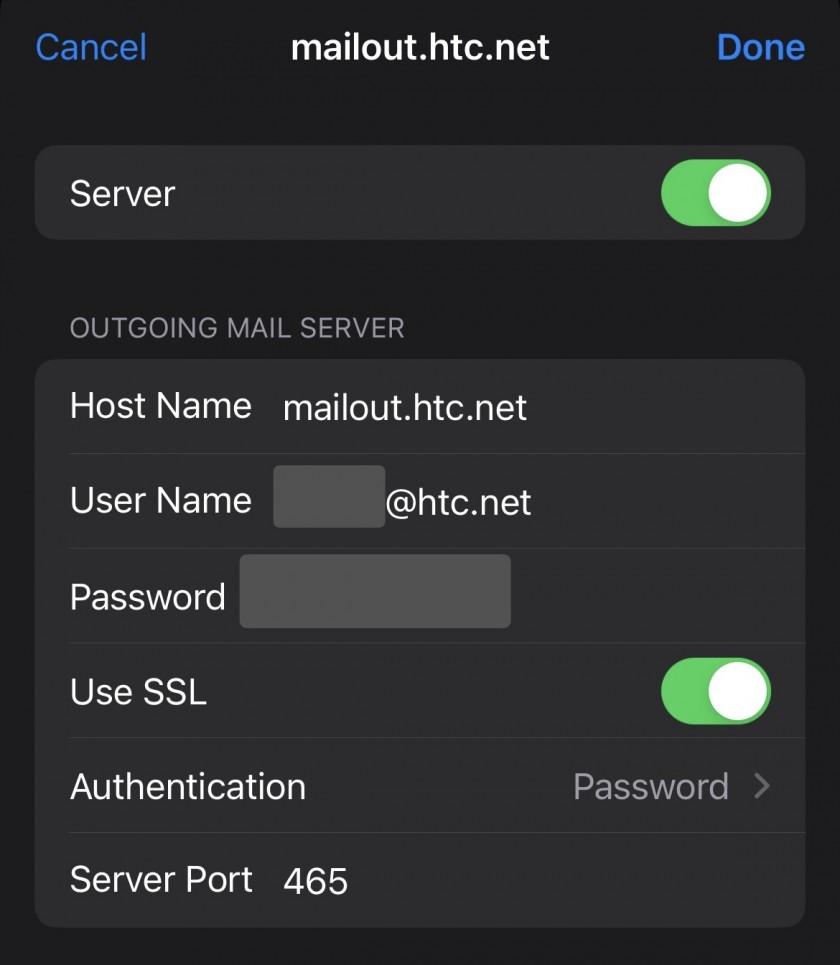
Outgoing server
- Server Type: SMTP
- Server Address: mailout.htc.net
- Port: 465 or 25
- SSL enabled (specify SSL or SSL/TLS as encryption type)
- Requires authentication